Wednesday, December 28, 2016

Gatsby


Incidentally the colors ARE the colors specified in the instructions, although they look brighter in my piece, especially the peach color. Since I probably won't add the outlines, I may have to tone down the darkest colors around the beads, which means not using black, but still adhering to the color palette from the instructions.

Next are some laid stitches and JE style cross-hatching...

Tuesday, December 27, 2016

Gatsby's Hat

I'm probably not going to put the dark outlines on her hat. I think they're somewhat harsh; I've lightened one of the colors in view of not having the heavy outlines. I'll review again and if I have to I will use a lighter color for the outlines.


This is the original from Trish Burr.

Sunday, December 25, 2016

Happy Holidays from Gatsby

Making modifications as I went along...


Happy holidays to all stitchers!

Thursday, December 22, 2016

Gatsby

I ordered some Southern Belle white cotton before I read that it's not as good as it once was. It appears to be thinner than the Southern Belle I ordered from Trish Burr several years ago. Hopefully it will hold up to the stitching.
I started on the collar using 8 strands of  JE cotton padding and a double strand of white floche. I did not like it, possibly because I was not supposed to be using two strands for stitching, even though I tried to lay them properly with the tekobari.


So I ripped it out and used 2 layers of 8 strands of padding. I also decided to add another texture element by using Appleton wool instead of floche, to give it a softer effect. The wool is also more forgiving than the floche, and makes it easier to stitch.


Sunday, December 18, 2016

The Nestlings Done

Decided to stop enhancing the nest:


Grub detail:

I'm excited to work on the Trish Burr whitework piece - Gatsby - next. Stay tuned.

Saturday, December 17, 2016

Nestlings Almost Done

This is the nest in progress:


I need to stop adding stitches to the nest! I may call this done:

The only item left is the grub that the female wren has in her beak...


Monday, December 12, 2016

Saturday, December 10, 2016

Female Wren Done

Both wrens are done. Here are the two together.


The turkey work for her is on the top of her leg, per the instructions. Looking cute!

Next are the babies...

On another note, I saw this Trish Burr piece and had to get it. Since I've not done whitework, I also got the A-Z book. I already have the Prancer reindeer piece from the Inspiration magazine, so I'll see which one, if any, I will to do after I finish this.

Thursday, December 8, 2016

Female Wren

Body is done. This is more difficult than the male, because there are less well-defined sections.  I added flat silk for the beak.
The tail is next, and even though turkey work is not called for, I think I'll put some in to match the male's - unless I can't find wool that matches the color.
I'm also considering adding silk to the eyes - to make them blacker.


Wednesday, November 30, 2016

Male Wren Done

Figured out what the turkey work is supposed to be for the wren. This is what the feather looks like:


Instead of doing turkey work - which I can't do well, especially that close to other stitches - I used wool, frayed it, and used a dab of JE glue at the back. I don't know if there's anything special about this glue; since it is used for JE it must be ok. Then I have to pick out all the black fuzz that ended up on the fabric. The male wren is done.


Starting on the female wren.

Sunday, November 27, 2016

Male Wren

Today's progress - not sure if I want to call it done yet. The instructions call for some cut Ghiordes knots at the bottom of the tail. When I looked at the picture initially, I thought it was a mistake - loose threads having worked their way to the front. On googling I found that Ghiordes knots are turkey work - it just wasn't frayed well enough. So I'm going to sit on that...


Saturday, November 26, 2016

Male Wren Body

The body is done. I found some blue couching silk that I used on top of the floss for the chest; and added some ecru flat silk for the tummy. I am thinking that the vertical tail is too close to the head; may want to move it back.


Sunday, November 20, 2016

Male Fairy Wren

Decided that I can't be livid for four years, and working on the piece helped to calm me down a bit.

I thought I had a good stash of blue silk threads, however these tend to be on the purplish side - due to the Japanese embroidery preference, or maybe the pieces I've done tend not to be of this shade of blue. So I'm doing it in cotton floss instead. Here's the little guy so far -


Friday, November 4, 2016

Nestlings Branches and Padding

Today's progress:
Branches are done. They look very nice for such simple stitches. The birds are padded.


The padding has been marked, and the eyes are done.


Decision time: silk or cotton floss?

Monday, October 31, 2016

The Nestlings, Technique and Tools

I haven't done a piece like this for a while, so I thought I'd give myself a break, as it requires no painting or designing. The first step is of course framing up. I have tried a number of ways to stretch the embroidery to be drum tight pre-stitching: from Evertite (too expensive, especially for large pieces); poor-man's Evertite (a term coined by Caela Tyler from a class I took - which involves using regular stretcher bars and then hammering and shimming the sides to spread them as the piece gets loose); to this technique from a class I took with Kay Stanis. Kay demonstrates this technique at her website, as well as on youtube. This last technique is the best, and is what I have been using since.
While I'm on the subject of framing up, I have been using this thumb tack kit from lacis, called  "Corjac" Thumbtack Kit; it works so much better for putting in and removing thumb tacks than using my bare hands. Better still, it works with my existing clover thumb tacks.

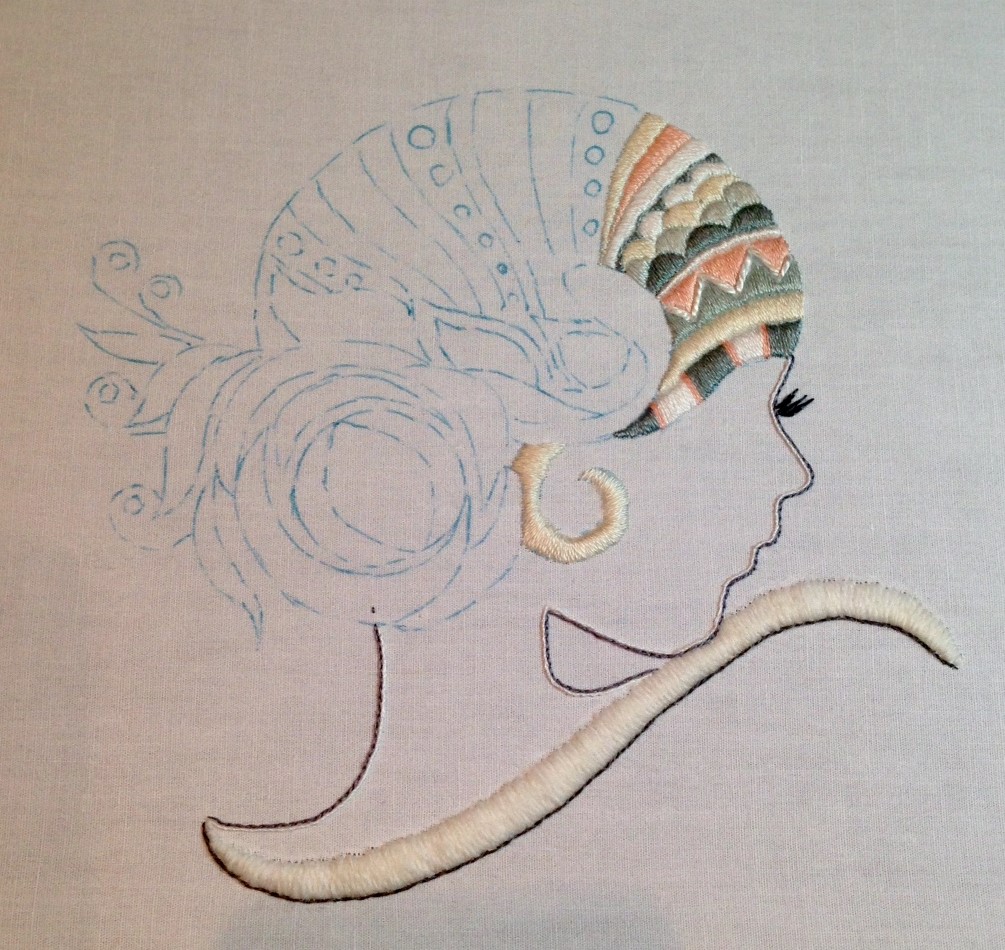
I ordered the instructions for The Nestlings from Inspirations magazine a while ago - I was very captivated by the nest. Then when I seriously looked into stitching it, I found that the threads called for are from Australian manufacturers, and not available easily in the US. Fortunately, this is where the MC in color program becomes useful J!


The ground is cream Southern Belle.
Here are the DMC colors I've picked. I may replace some with silk later on.


Tuesday, October 18, 2016

SFSND Challenge - Jewels of the Sea Part 2

I found out that I have to use ALL the crystals - no leftovers allowed. As I have already matted and mounted the piece on a backing, and the two large red crystals just do not fit into the design, I took their suggestion of using the extra crystals as part of a "signature".

The addendum piece is a separate piece:


To be associated with the main piece however they feel appropriate:


I've decided to mail the whole thing in, as it is a small piece, and the crystals are difficult to photograph with their reflections. Even though it's not due till mid-January, they say I can mail it in now.


Saturday, October 15, 2016

SFSND Challenge - Jewels of the Sea

I was lucky enough to have scored a set of Swarovski crystals that is the basis of the "Jewels of the Sea" challenge. This is the second "Stitch at Home" challenge from the school.

I really enjoy their challenges - they allow me to go to town to try new things - and I don't have to frame up the piece, or to send it in.


I was able to use all but 2 of the crystals, which I will then have to send back. For this piece I used painted cheese cloth, tulle edged with memory thread, and lots and lots of invisible thread. My quilting friend (thanks, Leslie!) provided me with the background - hand dyed batik - which worked well with the design. I did find out that the batik fabric tears easily; the next time I will iron on a backing to strengthen it.

Details:


Thursday, September 15, 2016

MC Step 6 - Red Boat - Done

Here it is:

Detail of the hill, with the smooth rocky edge behind the vegetation:


The boat and its reflection:

The sparkle in the water, which can be seen at an angle:


Reminds me of an impressionist painting...

Wednesday, September 14, 2016

Master Craftsman Step 6 - Unity

A new record - starting on the final step now, when it's not due till next February. My original intent - and I kept at it for several weeks - was the milky way sky, with Joshua trees in silhouette in front; however I don't think it's a good design to show color unity. After kicking around a few ideas, I finally decided on this one.
My painting teacher should be proud of me; I painted it first.


So far:


Detail of the hill:

Monday, August 22, 2016

Sfsnad Project Really Done

Well, my teacher Laura would not let me get away with a sloppy job. Based on her comments, I fixed the tops of the two front hills, and slightly grayed out the left hill. Since I had to restitch the left hill, I fixed the poppy center that I didn't like, and added more fronds.


Saturday, August 20, 2016

Sfsnad Project done

It turned out well; the only part I don't like is the center of the poppy - should have done it differently, but I'm going to let it go. I don't think I need to add any more yellow/orange sky color. As usual I'm going to sit on it and review it tomorrow. It might need more green fronds on the lower left quadrant - it looks a little sparse.


Monday, August 15, 2016

Moving On

I decided that I have to stop moping and move on. I received my MC Step 5 back and it is a good thing I passed, that cheered me up a bit. The judges suggested that I add some darker stitches at the left hill, so here's the before, and here's the after:


It added depth to the hill - great suggestion (and that's why they are judges!) Detail of the hill:


I also saw this project at San Francisco School of Needlework and Design; it is one of the places I've kept my eye on. Since I'm going through MC Color program, I should be able to come up with the color design for their challenge landscape:


This is my rendition so far - I may or may not send it in - depends on how I feel about it when finished. I removed the grapes, and put the purple on the hills, with orange and green for the California poppies. Another triadic scheme. I echo'ed a little bit of the orange in the sky; it may not be enough - I will see when the poppies are done.


Thursday, August 4, 2016

Disaster

I was finishing the goldfish piece using the finishing techniques of JEC. Unfortunately it wasn't meant to get wet - the ink that was the design ran, and there were blue halos around everything. It took a lot of spraying and blotting to get it sort of ok - but not perfect. Also some of the orange silk color ran onto the fabric. I was SO DISGUSTED, especially since I was so careful with this piece. Live and learn - I'll call it my cheap Chinese restaurant piece  - I can hardly bear to look at it.

Tuesday, August 2, 2016

Goldfish Done!

It's always exciting when I finish a JE piece! After all it is such a lot of work and takes so long. I started this piece November 2015, so all in all it didn't take as long as some other pieces. The bubbles added a lot to the design, and the background fabric really gives a sense of swirling water.


On looking at it closely just now, I think there should be a small section of purple seaweed above the large goldfish's left pelvic fin, to provide continuity of the purple seaweed towards the top. On the picture provided with the piece, that section is also missing, which I don't think is right. I'm going to add that tomorrow.


Sunday, July 31, 2016

Bubbles

Got 2 sets of bubbles done. The thread for working the bubbles is interesting - it appears to be light blue silk wrapped with gold - see closeup.


Saturday, July 30, 2016

Purple Seaweeds Done

When I first put the purple seaweed stems in, I thought it didn't look very good. It looks much better with the fronds stitched. And then I realized (ok, I had to look it up) that this is a triadic color scheme, and it is actually the perfect balance to the focal orange color - with orange, purple and green forming the triad. I have to get better at identifying and utilizing the traditional color schemes...


Bubbles next, and then it is done!