Wednesday, June 24, 2015

Dimensional Rose

Using DMC rayon thread was indeed much easier to form the long bullion knots. There are 3 bullion knots that were used as padding for the forward rose petal.


Rose done; not perfect but pretty decent! I think I'll add a bud and some leaves and see how it looks.


Tuesday, June 23, 2015

Brazilian Style Rose

I am using this Brazilian Dimensional Embroidery by Debbie Kelley as practice for doing bullion knots. I am using floss instead of Edmar rayon threads; as I am only adapting the technique. I'm doing a dimensional rose, to be surrounded by wrapped white beads, to see if it'll turn out ok for an Xmas ornament.


The rose is defined by a 125 wrap bullion knot. The wrap count will be different since I'm using 2 strands of floss instead of the Edmar thread. My practice long bullion knots - 80 wraps, 113 wraps, and 145 wraps:


I need to keep practicing!

Saturday, June 20, 2015

Prayer Book Cover

I decided to try my hand at Mary Corbet's design for a prayer book cover, as she has graciously granted me permission. I'm using an upholstery weight woven cotton remnant, which I think would wear better for every day usage. I measured out the entire book cover and attached it on a long stretcher frame - as I worry about getting the hoop marks out if I were to use a hoop. I used my Pilot Frixion pen to trace the pattern onto the fabric, using a light box. As the fabric is somewhat thick but stretchy, I ironed on the sf101 stabilizer on the back (per Trish Burr). At this point the tracing went away, as it was supposed to do. After storing the fabric overnight in the freezer, the tracing came back, as expected. The Frixion pen works really well for me!

My original motivation for this endeavor was to practice stitching satin round circles for the grapes. On second thought, I decided it was too difficult, so I used Mary Corbet's suggestion of Rhodes stitch instead. I changed the color of the cross, and used #8 perle cotton, couched, except for the ends.


The leaf turned out ok, the bullion knots, not so much, but they will have to do.

Thursday, May 28, 2015

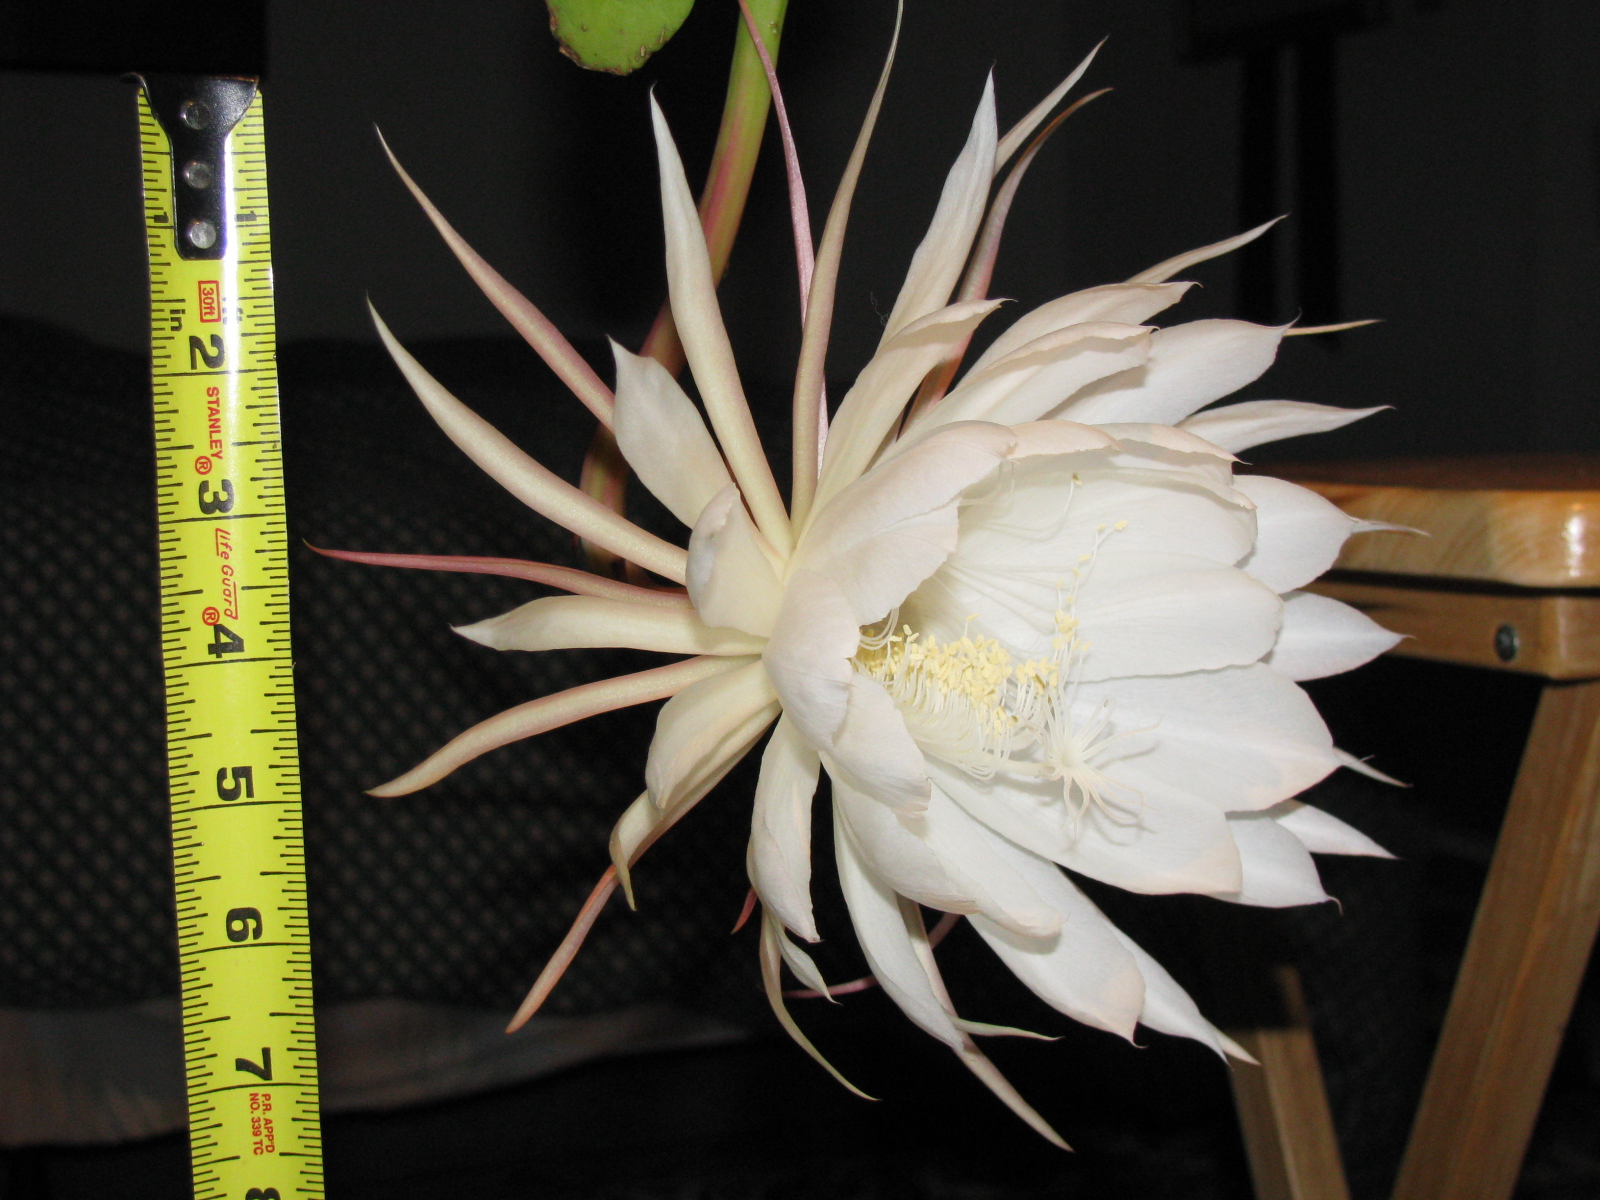
Epiphylum Cactus Orchid

This is not exactly needlework, but I may try to stitch one some time. This is the first red cactus orchid that I have; my old ones are white. This is not fragrant, unlike the white ones. I want to see how long the bloom lasts.


These are the white ones that are fragrant. They are not the "traditional" night bloomers that last only the night, and mine lasted a couple of days.


In the olden days in China, poets and intelligentsia held all night vigils watching the blooms open, and then die in the morning, as they lamented the empheralness of beauty. Something along the lines of: time-orders-old-age-to-destroy-beauty

I am feeling philosophical today - must be because I have to write my essay on Color Contrast!

Sunday, May 24, 2015

Complementary Contrast - Tulips Done

I'm calling it done even though the complementary contrast effect is not as obvious as I would like, especially when viewed in bright light.


 In more subdued lighting and if I squint my eyes it's a little more obvious. This will have to do.


Thursday, May 21, 2015

Complementary Contrast

Having put this aside for a while, it took some effort to get back into. This may or may not be the final version. I grossly underestimated the amount of ribbons I need; luckily for the yellow ribbon the color is straight out of the bottle. On the other hand, I'll have to mix my own color for the green ribbons for the leaves. The yellow tulips are against 3 different backgrounds - purple, light grey and light purple. Theoretically the sharpest contrast is against the purple vase, which hopefully will show up.


PS I  used a bead under the tulip to give it its shape.


Friday, April 10, 2015

Painting Silk Ribbons

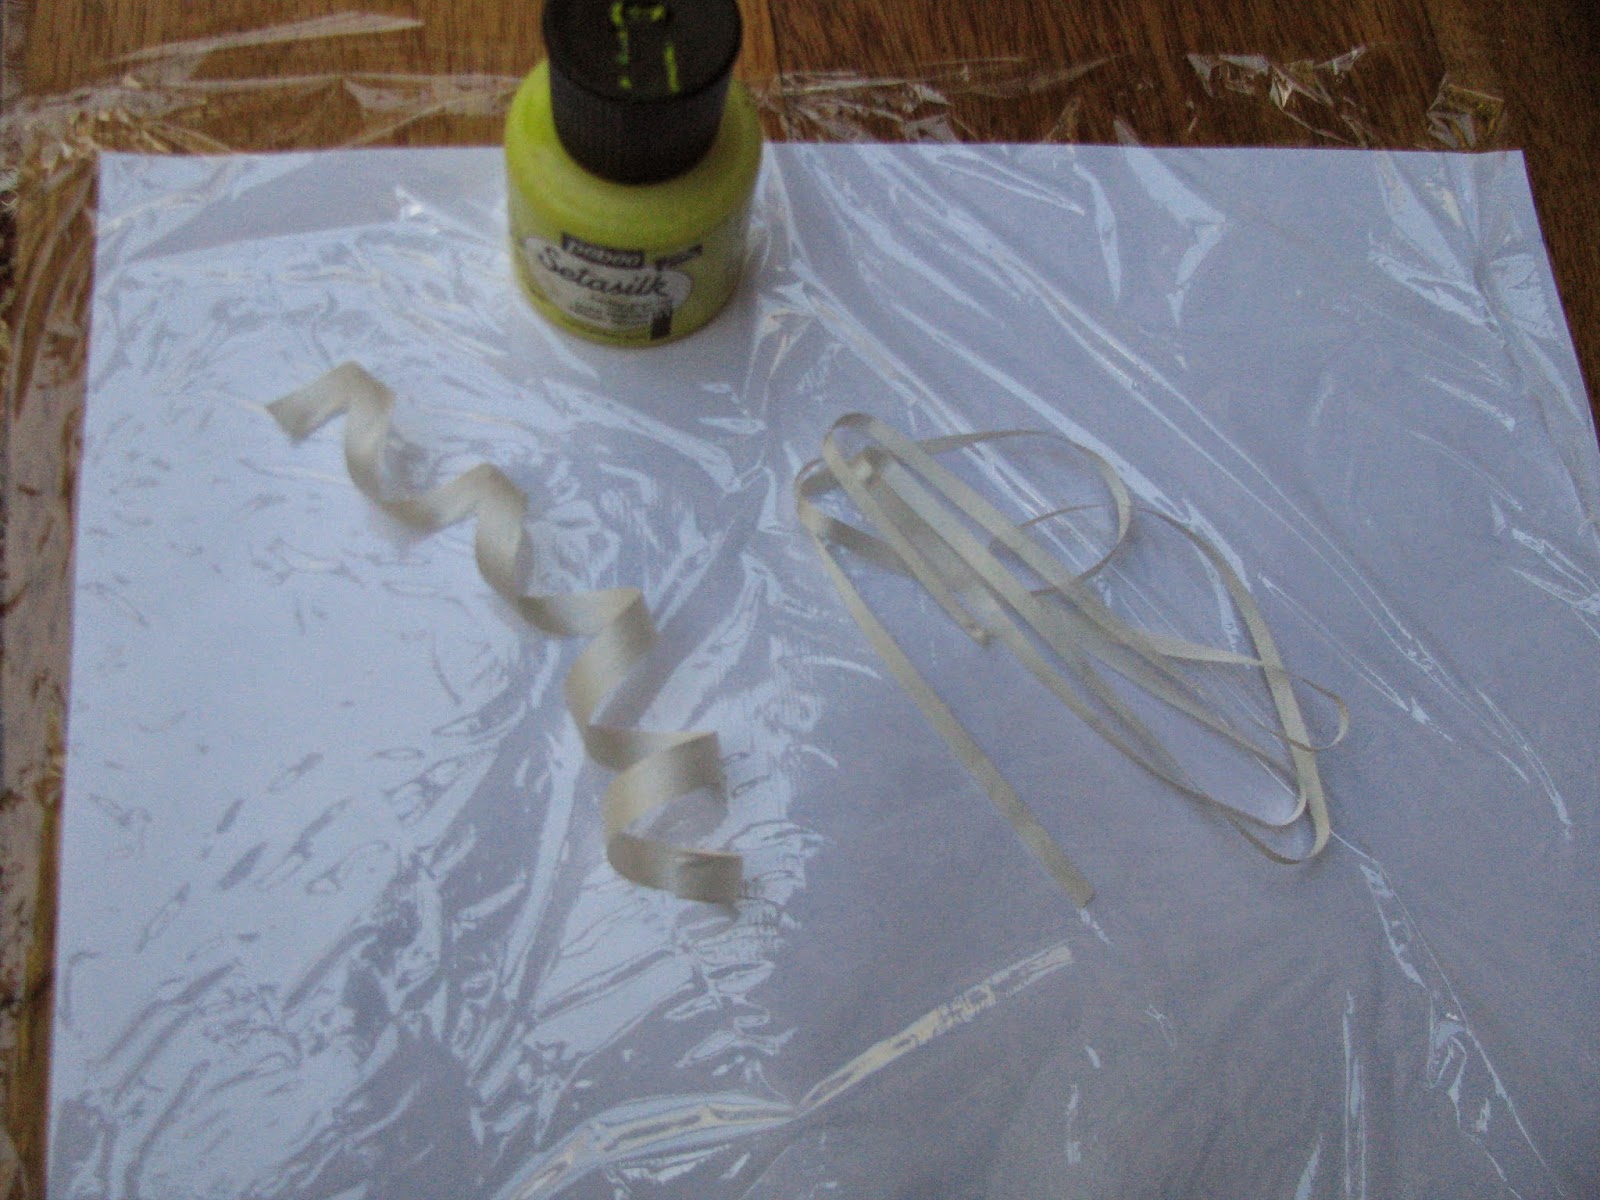
This is a really easy way to paint silk ribbons, as it requires no "painterly" tools. I use YLI white silk ribbons and Pebeo SetaSilk silk paint.

1. Put a plastic wrap on top of a piece of white paper, and cut out the approximate length of white silk ribbons.

2. Pour out a small puddle of paint onto the plastic.

3. Dip the end of the ribbon into the paint. The ribbon will start wicking up the paint. Drag the ribbon through the paint.

4. When you are close to the end, use chopsticks to finish dragging the ribbon through the paint. If you are not competent with chopsticks (and I think that everybody should be proficient with this very elegant and useful utensil) you can use tweezers instead.


 5. Allow the ribbons to dry, iron to set the paint per the Setasilk instructions. Voila! Bright yellow silk ribbons.